Traditional Modern Bohemian Desk


Traditional Modern Bohemian Desk

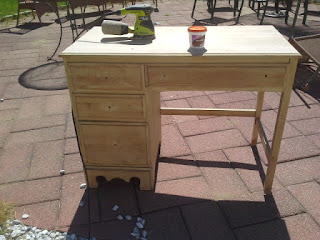
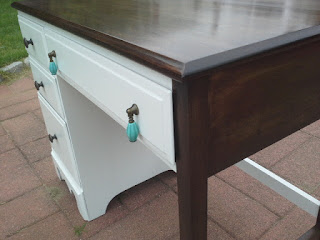
You've probably seen this style desk time and time again, usually in its brown state of life.  It's has a really classic, traditional style.  I wanted to create something different with it, kind of give it a little modern twist and add a dash of some whimsy in there too.  That is why I'm calling it the traditional, modern, bohemian desk.

Traditional Modern Bohemian Desk- white and stained


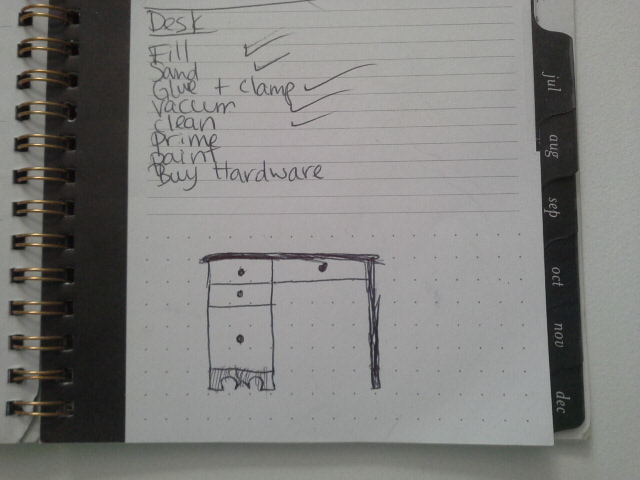
I can't take full credit for this one though.  I sometimes like to rough sketch my pieces out before I work on them, and that is what I did.  My 6 year old thought it would be fun to color in my sketch with a pen.

Traditional Modern Bohemian Desk- white and stained

When I saw what she had done I instantly got the idea of painting it a solid color and staining the top and the legs on one side only.  I gave her a kiss, thanked her and then told her not to scribble on mommy's sketches anymore.

Traditional Modern Bohemian Desk- white and stained

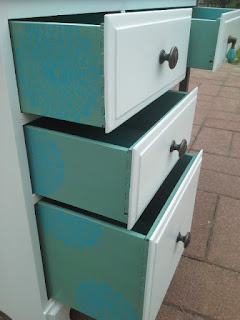
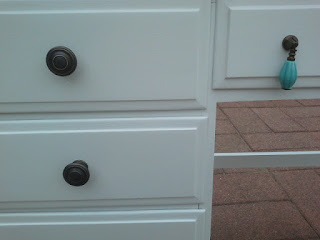
I originally had other plans for the desk of painting it in a jade color.  I wanted to make the inside cute too, so I used the jade color inside and bought a medallion stencil to add some fun turquoise pops.  I used two ceramic vintage looking teal pulls from Anthro, and 3 coordinating knobs for the drawers on the other side to balance the dark legs.  

Traditional Modern Bohemian Desk- white and stained

Traditional Modern Bohemian Desk- white and stained

I finished off the back as well so that it can be floated in the middle of a room.

Traditional Modern Bohemian Desk- white and stained

Traditional Modern Bohemian Desk- white and stained

 Now do you see why I named it the traditional, modern, bohemian desk?  It's just a very eclectic style desk now.  It's not a modern desk, but the two tone and the stained sides give it a modern edge.  It's has a traditional style but it's not painted in a traditional way.  The mismatched knobs and the whimsically painted insides give it a boho vibe.  It's not for everyone but I totally love it!

Lnking
     

Etsy Shop Announcement

 Hello everyone!  I know I haven't been very present here in the blog but rest assured I've been keeping very busy.  Last month I finally opened up my Etsy shop for Lillys Home Designs I even made my first sale which was very exiting!  


I have been wanting to do this for an awfully long time and I finally got the courage to just do it!  I was very nervous and excited at the same time, I still am.  I don't know exactly what I'm doing but I'm learning.  Just like I did with the blog and the furniture.  I didn't take any blogging or furniture painting classes I just learned as I went, through trials and errors, lots of errors but I'm still doing it and I'm glad I've stuck it out this far.  I'm very happy with this stage of my life and I'm looking forward to what's in store for the future.

I'm very fortunate to have the unconditional support of my husband who is very patient with me, he helps me a lot and pushes me to believe in myself.  The nights have been long while I tinker around with all the new things I'm learning and tweak around to fix things.  I've been so busy I actually started using the dishwasher for the first time in my life.  I don't know why I waited so long, that thing is a life saver.

I will continue to blog because I love sharing my home projects and furniture work here with you guys.  I would appreciate it if you took some time to follow me on social media where I share with more frequency and it's easier to keep in touch.


Now through 7.05.16 I'm running a 15% sale on all available items on my Etsy shop.


I would love it if you guys took some time to stop by my online shop.  Some of my pieces are located on the sidebar and my Shop tab below the header.  As always thank you for your continued support!    


Curbside Cabinet Makeover


Curbside Cabinet Makeover

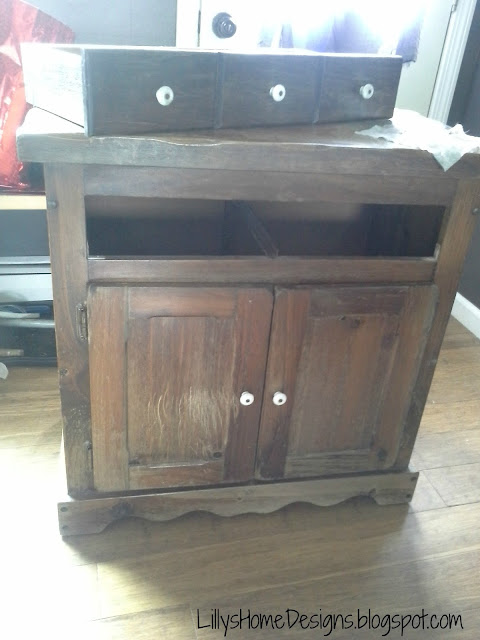
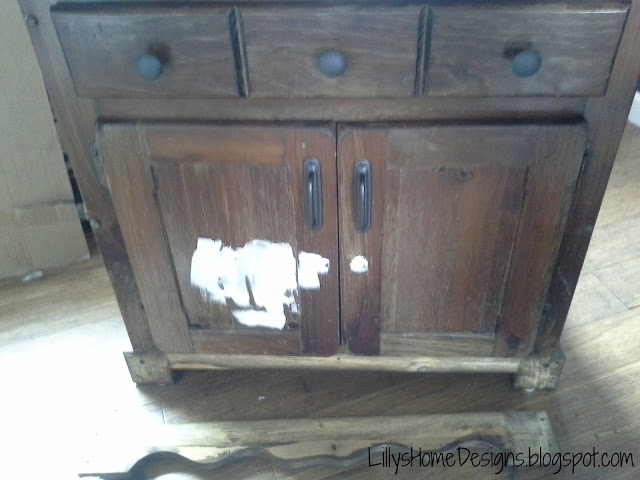
A few weeks ago I shared pictures on Facebook and Instagram of a curbside cabinet that I brought home to give it a makeover.  This cabinet had lots of dirt, cat hair and cat scratches.  It was pretty gross but nothing a little, no who am I kidding, a lot of elbow couldn't fix.

Curbside Cabinet Makeover

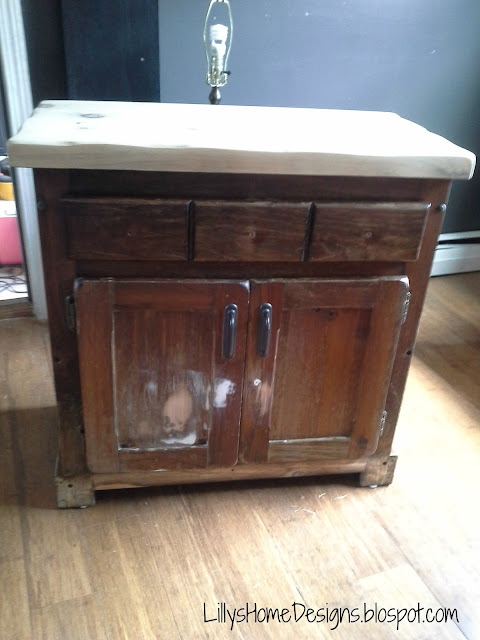
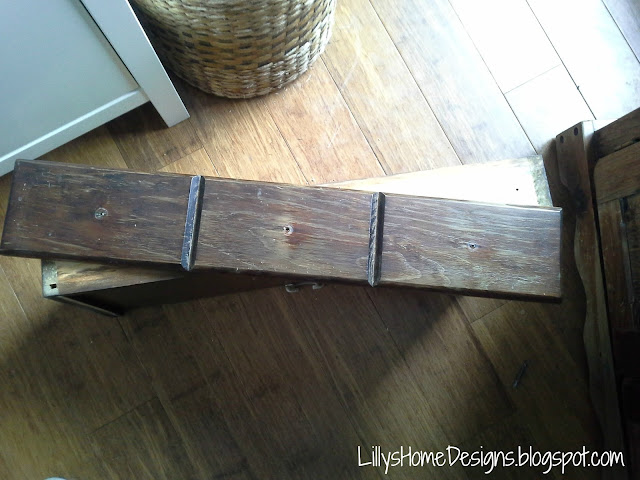
I started by vacuuming the cabinet inside and out.  Then I wiped it down, it was filthy I used up all my Clorox wipes.  I also cleaned it with TSP.  Next I removed all the hardware and the kick-plate.  I filled all the holes and cat scratches with wood filler.  Then I sanded the top off to bare wood and lightly sanded the body and areas where I had applied the wood filler.

curbside cabinet makeover

Curbside Cabinet Makeover

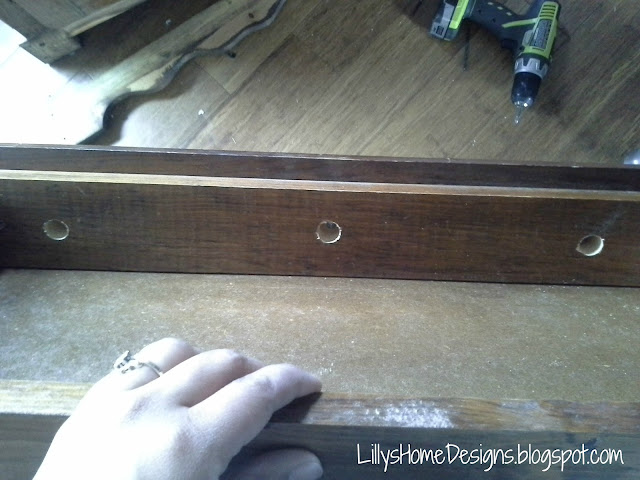
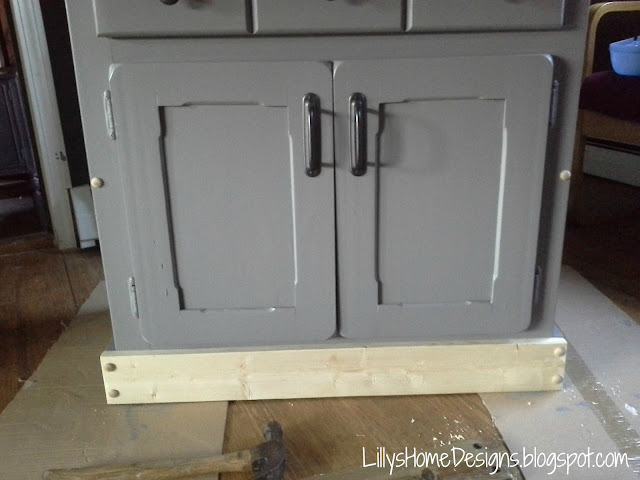
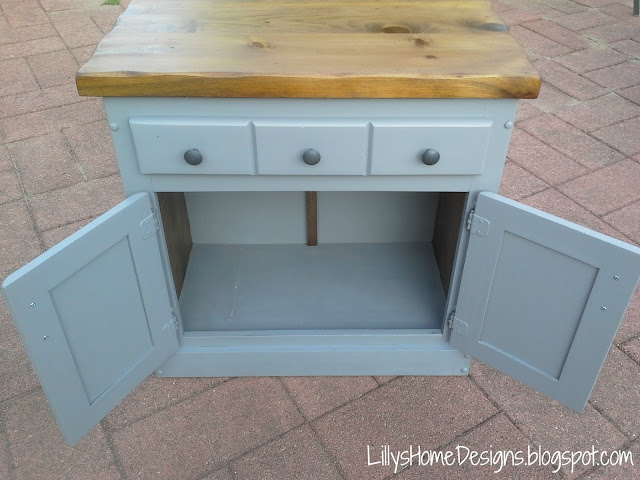
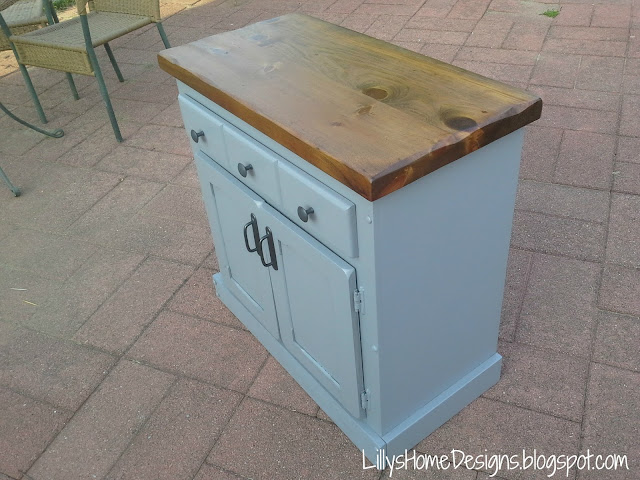
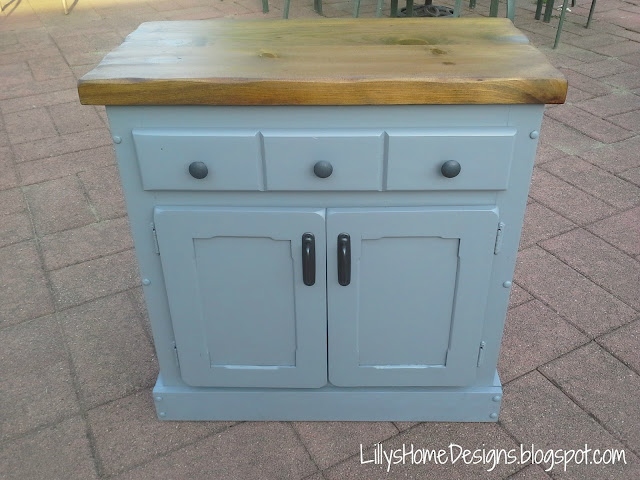
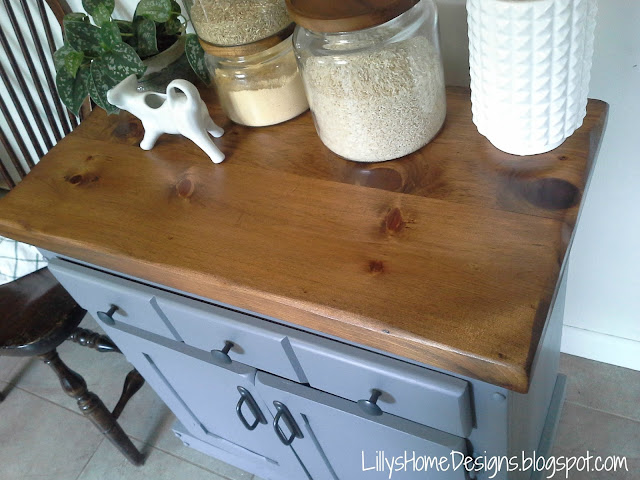
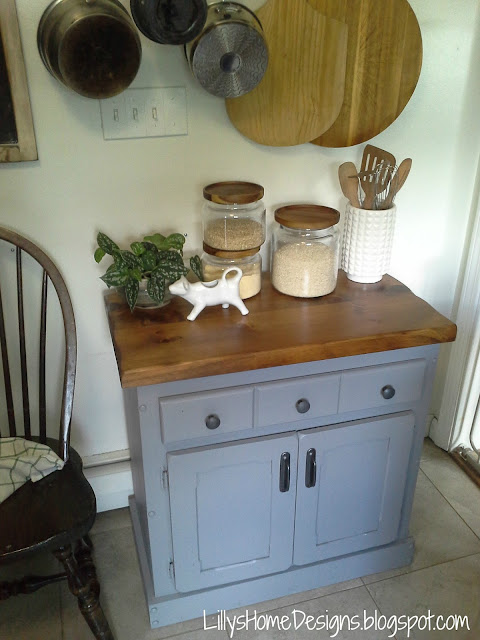
I made the new holes for the new hardware and got a piece of wood cut to size for the new bottom kick-plate.  There was nothing wrong with the kick-plate it came with. Its just that this cabinet really wanted to be a boy cabinet so it needed a straight bottom.  The other kick-plate looked like a girly skirt on it.  I also bought a pack of wooden buttons, because it was missing a few and I needed to cover the screw holes on the new kick plate.  I painted the cabinet a rich medium grey and stained the top and sealed it with multiple coats of polycrylic.

Curbside Cabinet Makeover

Curbside Cabinet Makeover

Curbside Cabinet Makeover

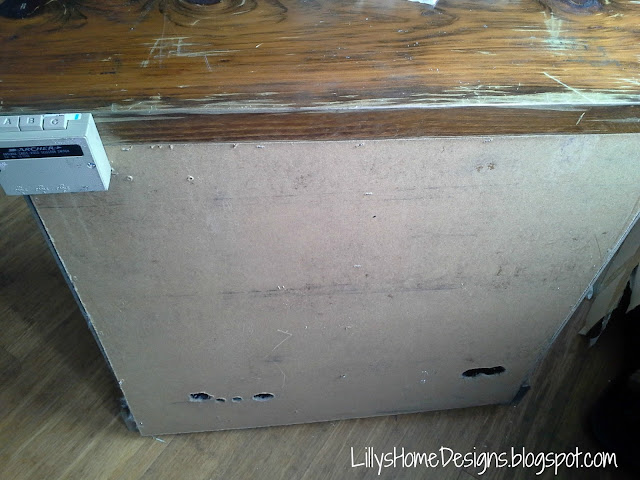
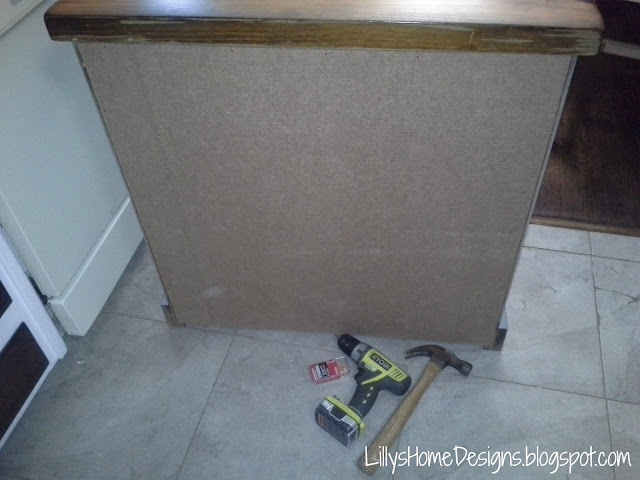
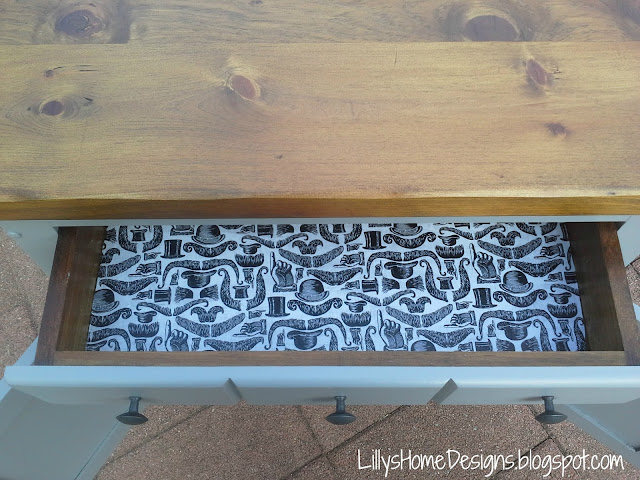
The back cover panel had holes in it so I bought a new one and attached it with screws.  I painted the inside of the back panel in the same grey as the body and sealed it.  I left a piece of wood in the middle exposed and the sides because I like the way the wood tone looks with the grey.  I also lined the drawer with a fun mustache fabric using Modge Podge and sealed it with Polycrylic too. 

Curbside Cabinet Makeover

Curbside Cabinet Makeover

Curbside Cabinet Makeover

Curbside Cabinet Makeover

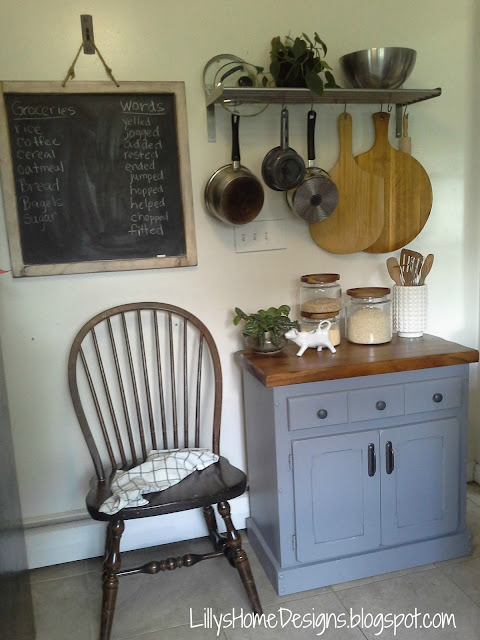
Now there's no mistaking this cabinet for a girl, it's definitely a boy cabinet. No more tiny little ceramic knobs or frilly skirt.  Now its got chunky hardware, mustache fabric, straighter lines, and two tone stain with masculine grey paint.

Curbside Cabinet Makeover

Curbside Cabinet Makeover

 I brought it in to the kitchen for a little staging fun, because that's just the way I am, I like staging pieces.  I actually had to take down my recycling bins from the wall to take these pictures.

Curbside Cabinet Makeover

Curbside Cabinet Makeover

Curbside Cabinet Makeover

 If only the person who left this by this cabinet by the curbside could see this makeover!  Can you believe I found this cabinet on the same street, the house right next door to where I found this Roadside Side Table that I gave a makeover to months ago?


Related Posts Plugin for WordPress, Blogger...