Showing posts with label furniture. Show all posts

New Bedroom Nightstands

I'm very excited to share today that I found a pair of nightstands for our bedroom.  Yes, I get overly excited about furniture but did I say they are Awesome with capital A nightstands! Give it up for these babies! Um huh!

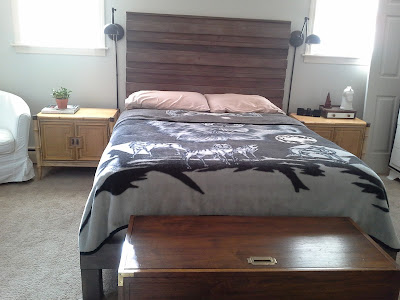
Master bedroom nightstands Rustic Headboard

Master bedroom nightstands Rustic Headboard Hollywood Regency

On this bedroom post where I talked about what I was dreaming for the bedroom I mentioned wanting to get new nightstands.  I really like the idea of building floating nightstands but when I came across these babies on good ole Craigslist I couldn't pass them up.  It was love at first sight, I know some of you might be thinking, is she blind?  Those things are a yucky, mucky, beigey, yellowy, pukey color!  But those of you that know about furniture and potential, stop drooling, they are mine, I found them first!  


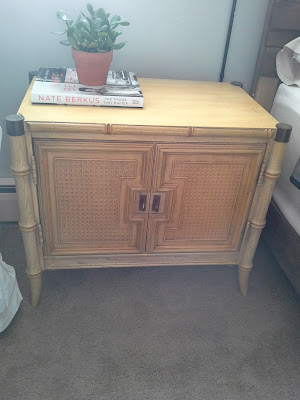
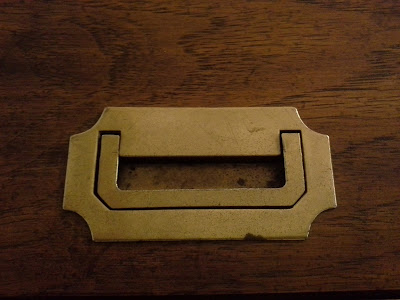
Let me explain why they are so fabulous!  Just look at how stylish they are, they are Hollywood Regency, I mean come on the name alone says it!  I love all the amazing detail, who doesn't loooove faux bamboo?  And the brass details on the corners and back plates on the pulls, the canning and trim on the doors, those sexy little legs.    

Hollywood Regency Nightstand

Hollywood Regency Nightstand

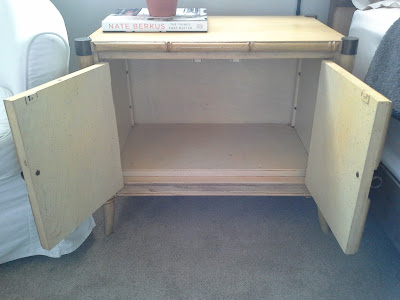
They are much bigger than the standby pieces we have now.  They almost line up with the top of the mattress which makes them perfect for bedside tables.  They have concealed storage which is always a plus.  Who doesn't want to hide all there unsightly junk?  And not to mention they are great quality, vintage, wooden babies.  

Hollywood Regency Nightstand

Obviously the finish is all wrong and I have to give them a serious paint makeover, but that's the fun part!  One of them is missing a pull which is going to be a pain in the butt to track down.  I know, I've already tried with no luck.  If anyone knows where I could find a match for these pulls please drop me a line on the comments I would sooo appreciate it.    

Linking up to 

Dining Room New Hutch


Grey cabinet dining room

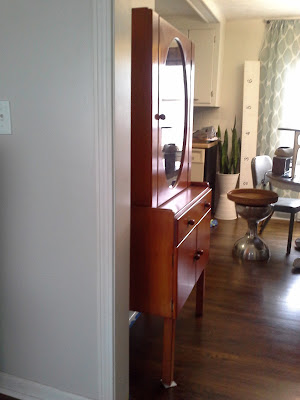
Remember when I mentioned in this post wanting to replace the grey cabinet in the dining room with a skinny hutch!?  Well, I found a really cool looking piece on good ole Craigslist of course.  I just love it when I want something but when I'm not really looking for it, it just finds me instead.  When I saw it I new it would be perfect.

Mid century Modern Dining room Hutch

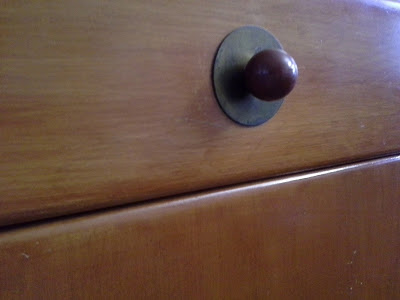
This piece is great, it has everything I am looking for, it's tall, skinny, not too deep, it has storage and a display area on top.  It is so different looking too, I love how the display door has an oval shaped glass, and the bottom is so leggy and open.  The knobs are pretty cool looking too with the brass round plate surrounding the actual wooden knob.  It is solid wood and inside the drawer is a little metal plate that reads Watkins Brothers Inc. Manchester.

Mid century Modern Dining room Hutch

Mid century Modern Dining room Hutch


I'm not sure how I am going to refinish it yet.  I'm not a fan of the orange-y stain color and the stain job was very poorly done and it's scratching and peeling off so it definitely needs to be refinished. I'm thinking I could paint it a modern glossy white, or stain it dark or both, I don't know yet.  I'm working on some custom furniture pieces for a customer so I have some time to think about it.  I can't wait to see it all spiffed up already and with my pretty things inside though.  I'm so glad to have found this piece and I couldn't wait to share it.

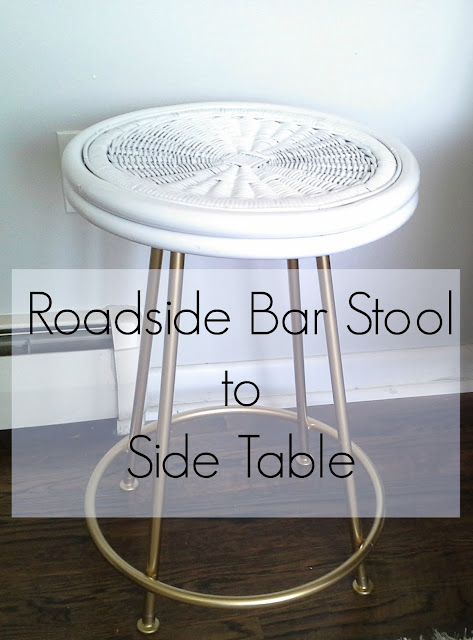
Roadside To Side Table


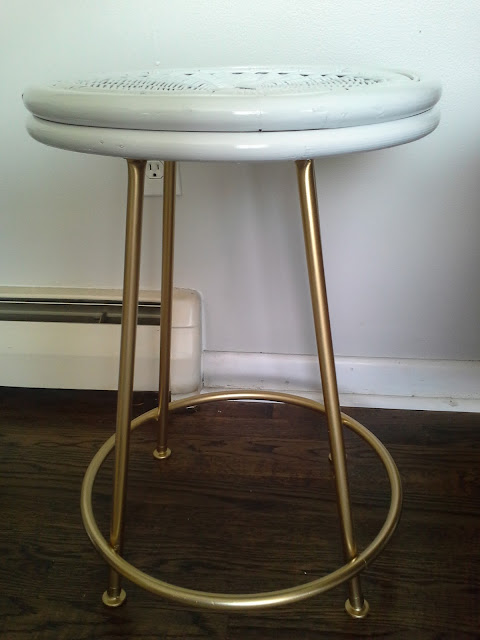
Wicker rattan bamboo metal gold white table

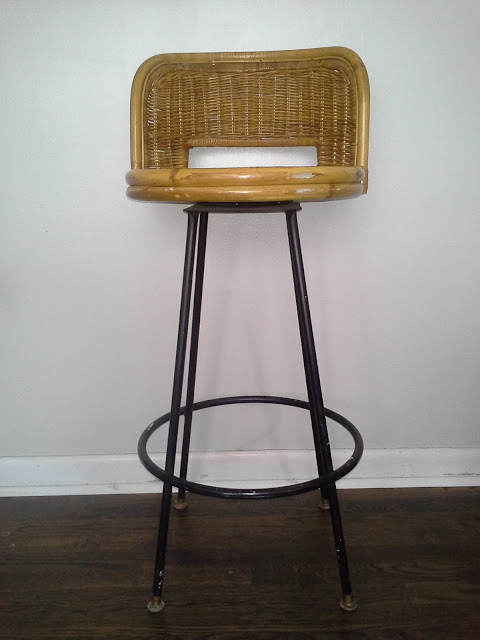
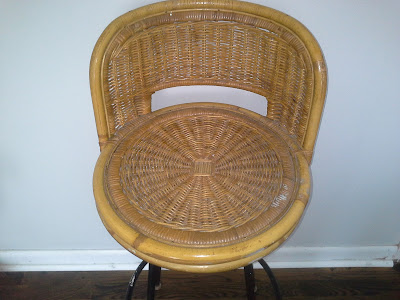
On my way back from taking my daughter to school I spotted a bar stool waiting to catch a lift from the dumpster truck, instead I gave her a lift on my pick up truck and brought her home with me.  Classy eh!  The top was constructed of some pretty solid rattan material and the bottom of sturdy, leggy, metal.  She was in perfect shape I don't know why they let her go but now she's in good hands.

mid century wicker rattan bamboo metal bar stool

At first I was going to leave it as is and use it as a plant stand but you know me, I just can't leave furniture in it's original state.  I decided I was going to turn it into a side table.  I've been wanting a table in between the two chairs in the living room.  I wanted a round table that was made of metal or wicker so this was a perfect blend.  Once I got the idea in my head I asked my husband if he could take it to work and shorten the legs for me, but first I needed to remove the back support of the stool.  This was  a pain in the you know what.  
      
mid century wicker rattan bamboo metal bar stool

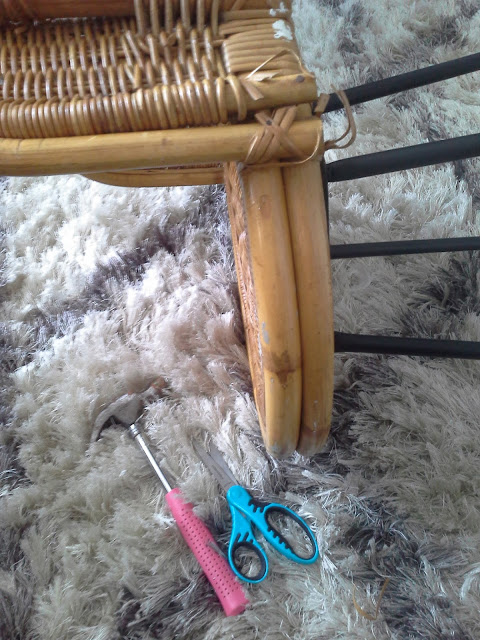
I started with some simple supplies, a little scissor and a small hammer.  I began to unravel the rattan by cutting some pieces and pulling out some small nails.

mid century wicker rattan bamboo metal bar stool

Twenty minutes later the stool still looked like this and the little nails were being a pain to take out, so I grabbed a bigger hammer (or as my husband would call it a real hammer).  I was getting a little frustrated and I was banging on it with the hammer and pulling and cutting and nothing.

mid century wicker rattan bamboo metal bar stool

So I did what I should have done since the beginning, I went to the garage, grabbed a jig saw and in just a few minutes wha lah, presto, done-zo!  I just love power tools.


Now it was my husbands turn to help with the makeover.  He took it to work, removed feet and brought it back table size.  The feet were very rusty and corroded but I was going to fix them up and reuse them so that the bottom of the fresh cut legs wouldn't scratch the floors.  I used a small wire brush to clean off some of the rust.

mid century wicker rattan bamboo metal bar stoolmid century wicker rattan bamboo metal bar stool


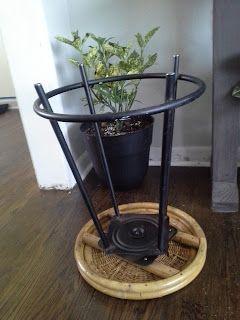
 Next up was separating the top from the bottom to start prepping them for the paint chamber.  The metal was screwed into the wood at the bottom of the seat with just four screws, easy peasy.  When I removed them the top of the metal base was very dusty and dirty so I cleaned everything up with a brush and wet cloth.  I used the brush for the wicker to make sure I got into all the little crannies.


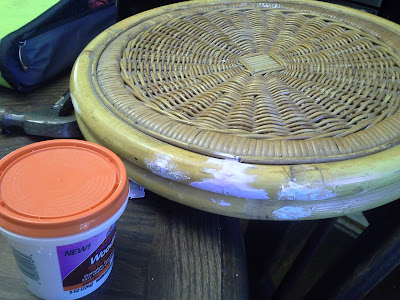
I used wood filler to fill all the little holes where I had taken the nails off and some of the cracks that divided the bamboo pieces.  Then I sanded everything by hand with fine grit sand paper including the metal to get some of the rust off and give the primer some extra adhesion.  I cleaned up all the dust with a damp cloth.

mid century wicker rattan bamboo metal bar stool

Finally I was ready to start priming and painting.  Since the base was made of metal and it had a little bit of rust I used a Rust-oleum stops rust clean metal primer in the spray can.  I did two light coats of the primer.  

spray paint metal bar stool

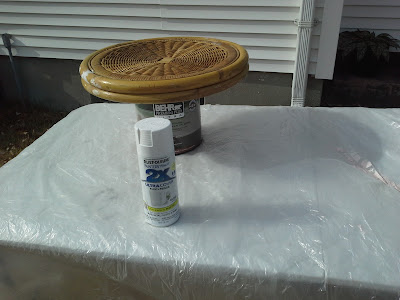
While the bottom part dried I got started on the wicker top part.  I propped it up on top of a can of paint so that the paint could get under the rounded edges.  I used Rust-oleum painter's touch 2x ultra cover paint + primer in gloss white.  I did very light coats to get even coverage and avoid drips, waiting a few minutes between each coat.  It took 5 coats of paint for full coverage.

spray paint wicker rattan bamboo

For the bottom I wanted gold so I used Rust-oleum specialty metallic in gold.  This gold is perfect!


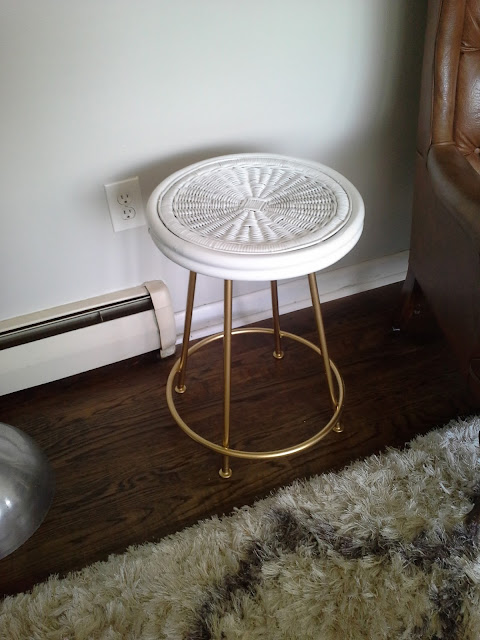
Actually this side table is perfect.  I couldn't resist bringing it inside once it was dry to take some pictures.  It's not even screwed back on yet, I just placed it on top.

Wicker rattan bamboo metal gold white table

Wicker rattan bamboo metal gold white table

The gold and white combination looks so beautiful.  Look at that shine, it's perfectly glossy all around.  I'm so happy that I found this stool and decided to give it a completely different look and purpose.  Now I  need to give it a couple days before I bring it back inside the house so that it can fume off and so that the paint cures really good and I can place things on top.  I can't wait for that, I'm so excited!     

Wicker rattan bamboo metal gold white table

Wicker rattan bamboo metal gold white table

Linking up to
Campaign Furniture Heaven


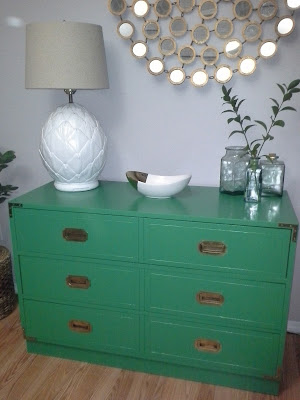
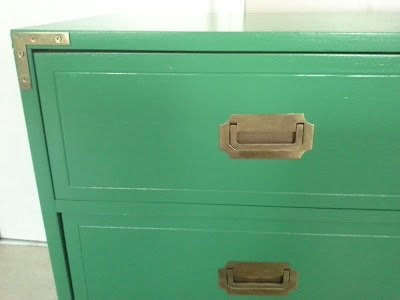
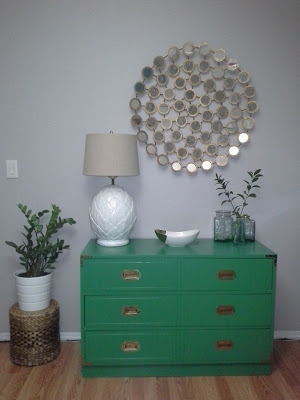
kelly green campaign dresser

Have you ever been in Campaign furniture heaven?  It's a beautiful place full of vintage furniture pieces with Campaign Hardware everywhere.  My home is temporarily that place. Although I wish they could all stay here forever, unfortunately I can't keep all the furniture pieces that I love.  Bummer!  Oh well, while all these beautiful pieces of campaign furniture are in my house I will gaze at them and pet them as much as I can.  Until I refinish them and find them new homes and only then will I cry.

campaign furniture

 I have always been a big fan of campaign style furniture.  I own a campaign desk and I have sold a couple campaign pieces in the past.  I love their clean lines, amazing hardware and that they pack a lot of storage.  They are classic pieces that blend well in to traditional as well as modern spaces.  They can be used in both feminine and masculine rooms so they are great for couples with different styles.
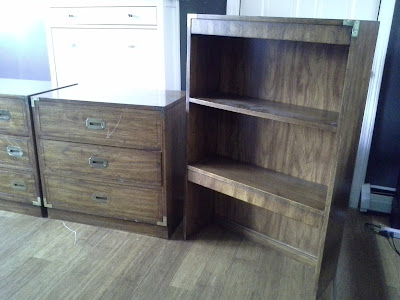
This week I was lucky enough to score three pieces of furniture from the same line via Craigslist.  I immediately contacted the seller and made arrangements for pick up that same evening.  When you find amazing pieces like this you have to move quickly because they are hard to come by and when they do , they go FAST!
campaign furniture
campaign furniture
campaign furniture

  
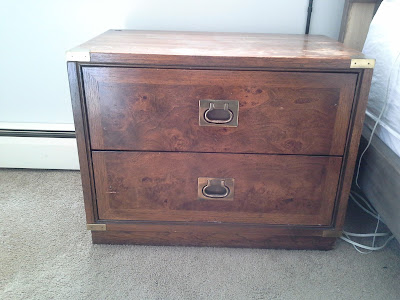
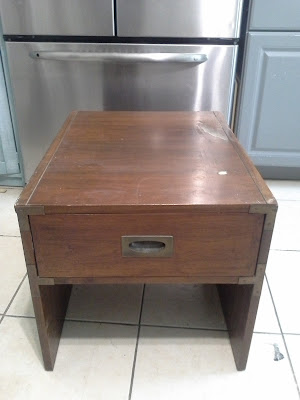
A little while back I also found a nightstand and a side table both with slightly different hardware on them.  The nightstand I also found via Craigslist and the living room table I found while thrift shopping. 

campaign furniture

campaign furniture

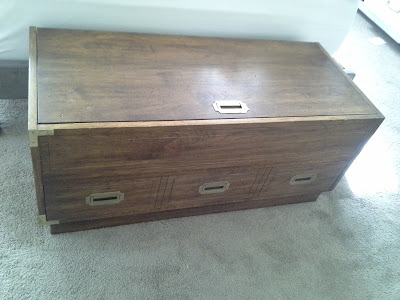
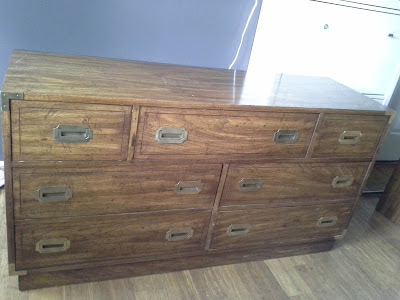
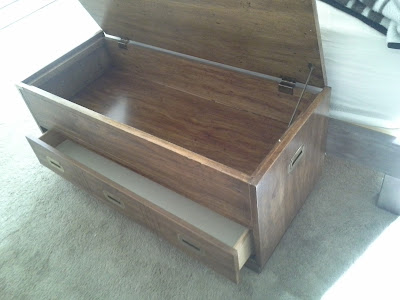
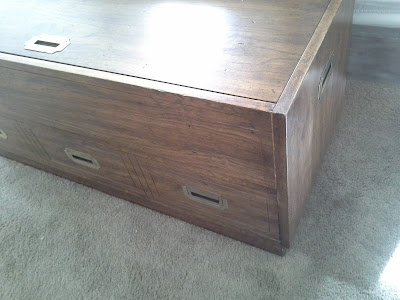
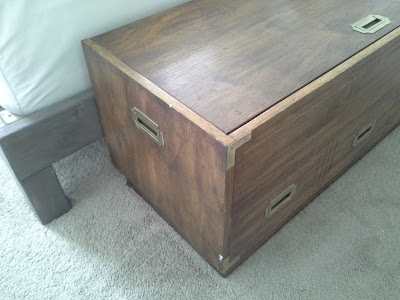
 The three pieces that I bought together consist of a dresser with 7 drawers, a 3 drawer chest with a removable hutch and an awesome trunk or chest whatever you want to call it.  The trunk is amazing!  It has a drawer on the bottom which needs fixing and the top opens upwards and it holds itself up in place.  It is missing a couple corner brackets but not to worry I am going to replace them.  It also has pulls on the sides.  It is just a stunning piece!  A couple of the drawers on the dresser need fixing too.  Hopefully it won't be too much work.  All the pieces have dings and scratches that need patching.

campaign furniture
campaign furniture
campaign furniture

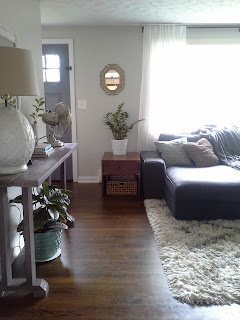
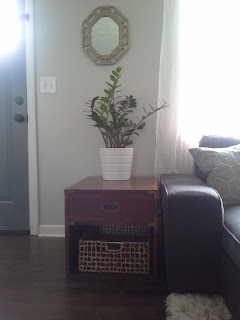
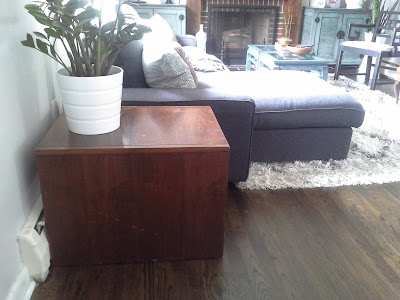
Can you tell I love the trunk, it's already sitting at the foot of our bed and I really want to keep it (sigh!).  The nightstand I originally purchased to use by my bedside but it's a little short.  I was thinking of adding feet to it to make it taller but now I'm not so sure that I want to do that.  I might just fix it and sell it too.  The side table is living in my living room.  It's very deep so it has ample space to put things on top of and the drawer is a nice little place to stash things like magazines and remote controls...  I have a basket underneath it that is the perfect size and it holds some board games.  So that piece is staying for now.

eclectic living roomeclectic living roomeclectic living room

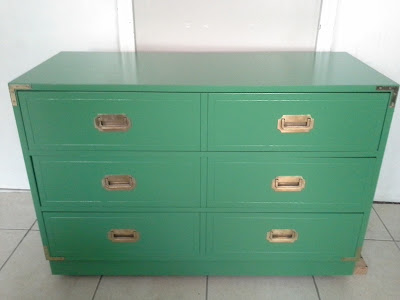
 I'm still not sure what colors I'm going to paint them.  A while back I painted a campaign dresser in a glossy Kelly Green and it was a big hit.  It sold right away and I had a lot of people inquiring about it.  So I'm not sure if I should do another similar piece.

kelly green campaign dresser

kelly green campaign dresser

kelly green campaign dresser

 I also love how my white campaign desk looks.  I feel like white is a classic color for this style furniture.  

white campaign furniture desk
My desk in my home office

I'm so excited that I scored all these beautiful campaign pieces.  Since I have a few of them, I'm glad I get to play around with colors.  I hope they turn out as beautiful as I envision them.  It's going to be hard to let these babies go but hopefully whoever ends up buying these will love them as much as I do already.


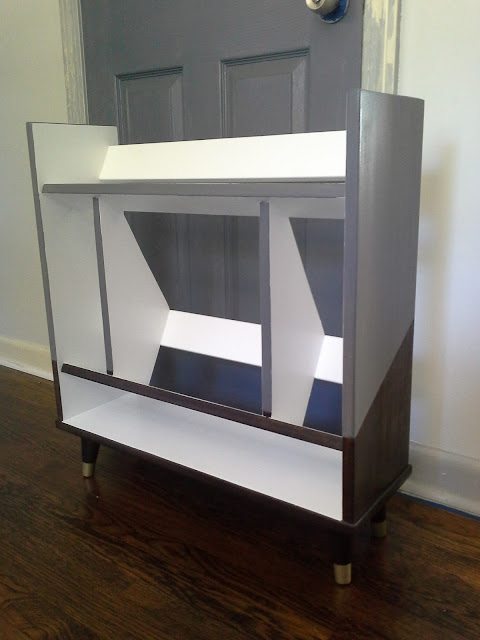
Triple Treat MCM Bookshelf


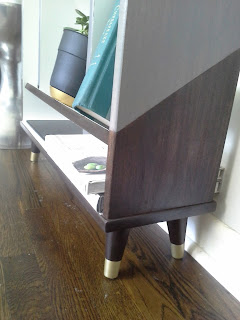
Mid-century modern bookshelf

I was getting in the car on a Friday morning to take my oldest daughter to school and my neighbor from across the street was having a tag sale.  I wish everyday started with a tag sale waiting for you right across from your house.  They were just starting to set up and I figured I would check it out on my way back home but my daughters inherited my jeans they can't see a tag sale and not beg me to go. So I said sure lets check it out.  I spotted this nice big golden deer made of papermache for $1 and I snatched it up.


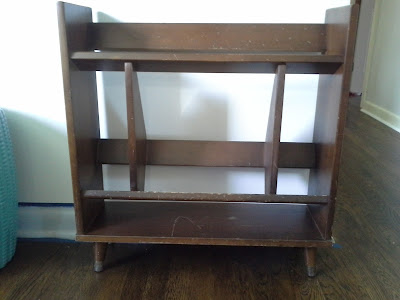
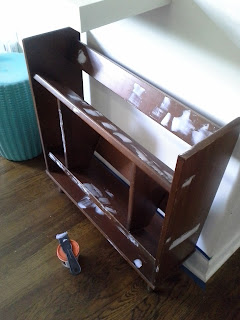
I took my princess to school and on my way back they had put out more things so I checked it out again with my youngest.  I saw a small bookshelf, it was Mid-century modern (I love mcm), solid wood, had angled shelves and spectacular little feet with metal on the bottom.  At first I didn't buy it because I have been trying really hard not to buy anymore furniture because my basement is full.  So I went inside my house and tried to go about my day but every time I heard a car stop or door slam I would peek out the window to see if the bookshelf was still there.  It wasn't until like the fifth time that I looked out the window that I decided I was going to buy it.  After all if I was going to keep looking out the window every couple of minutes just to be sad if it was gone, I may as well just buy it.  That's logical, right?  I hurried across the street with my little one and told my neighbor I couldn't stop thinking about it so there I was for the third time today.

Mid-century modern bookshelf
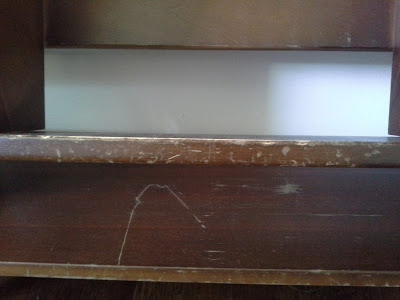
It was full of dings and scratches

When I brought it inside I tried google-ing it to see if I could find any similar and low and behold I found a few and they were selling for $150 and up in as is condition.  I went on Pinterest and found the perfect inspiration piece painted and stained.  I new I wanted to do something similar but with different colors.

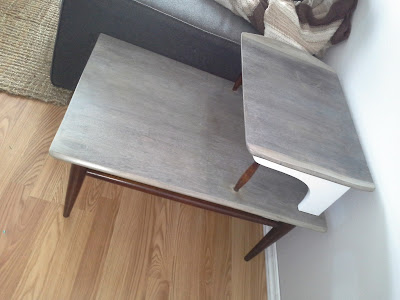
I wanted to use two different stain colors and white paint.  I did the table below, a MCM side table where I used a similar combination of colors and I wanted to do it again.  This table was one of my favorite pieces that I have done, I was sad to see it go when I sold it.

Mid-century modern side table

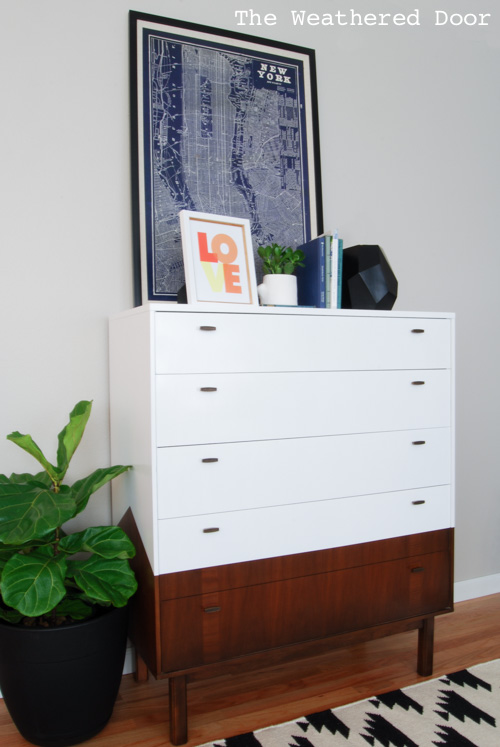
I wasn't sure how I was going to incorporate the two stains until I remembered of a piece done by Reeves from The Weathered Door.  Jack Pot I've been dying to make a piece like that since I saw it.  I knew that combining all three of these inspiration pieces was it.  It was going to look amazing.
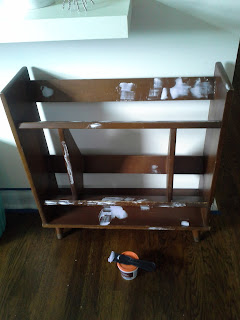
I soon as I new how it was going to look I got started.  First I filled all the nicks and scratches with wood filler.  Then I sanded the entire thing and in the areas where I was going to stain I sanded the stain completely off. 

Mid-century modern bookshelf


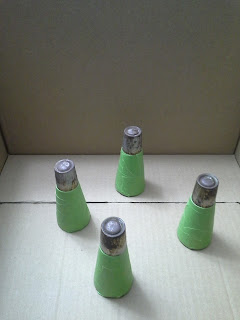
I worked on the feet separately, sanded the finish off.  The metal part of the feet were a little bit rusted so I sanded them as well, and sprayed them with Rust-oleum Universal advanced formula metallic paint and primer in one in the Pure Gold Finish.  It took several coats for complete coverage.   Then I stained them with Rust-oleum Ultimate wood stain in Kona and sealed them with Minwax water based Polycrylic


Mid-century modern feet

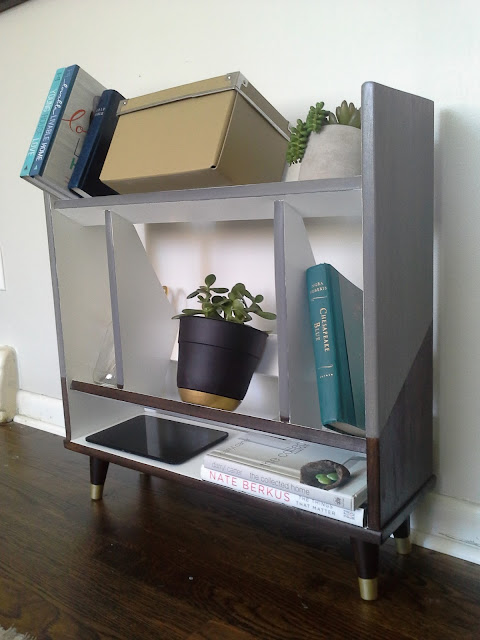
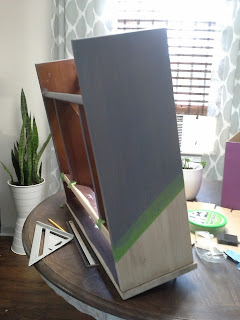
With the help of a ruler and a trinagle I measured out the lines where I wanted the angles for the stains to meet.  I used Frog tape and polycrylic between stains to help with preventing bleed through.  For the top stain I used was Rust-oleum weathered gray and Kona for the bottom.     


I didn't get too much bleed through with the stain, now the paint was a different story.  I taped up all the stained areas this was a very tedious and long process.  Then I primed all the the areas I was going to paint twice.  The white paint took five coats to cover so all together it took seven coats.

Mid-century modern bookshelf

Mid-century modern bookshelf

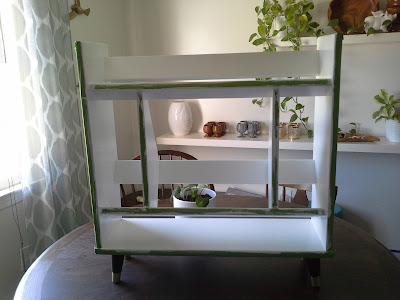
I carefully removed all the frog tape, I used a razor and pulled carefully.  When I finished removing all the tape I was left with a mess of bleed though.

  
  This was a bit frustrating but I did my best to fix it with a razor blade scraping away and retouching.  This happened because I used the poly trick between the coats of stain but I forgot to do it before the painting part.  Now I know for next time.

Mid-century modern bookshelf
  
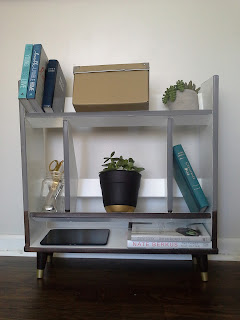
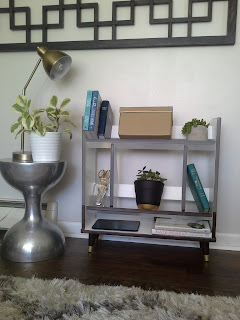
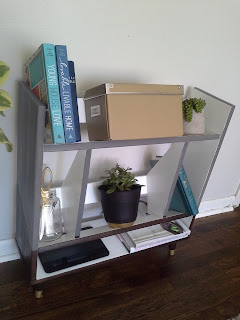
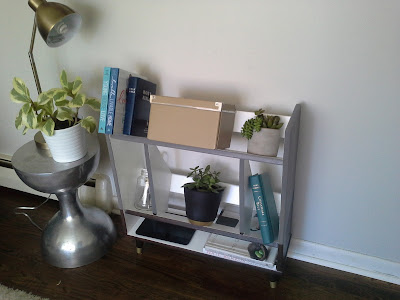
I think it looks pretty darn good.  I love how the color combination came out.  Now for the fun part, some staging for pictures.

Mid-century modern bookshelf


Mid-century modern bookshelfMid-century modern bookshelf


Mid-century modern bookshelf

Mid-century modern bookshelf


Linked to

Related Posts Plugin for WordPress, Blogger...