Showing posts with label furniture. Show all posts

Skogsta Chairs and Parsons Dining Room Table


Ikea Skogsta Chair Parsons Dining Table

After stalking the Ikea website for a month waiting for the chairs to come back in stock, we got'em!  We now have a beautiful combination of skogsta chairs and parsons dining room table.  Our dining room has always suffered from identity crisis.  But it's finally starting to feel more like us.

Ikea Skogsta Chair Parsons Dining Table

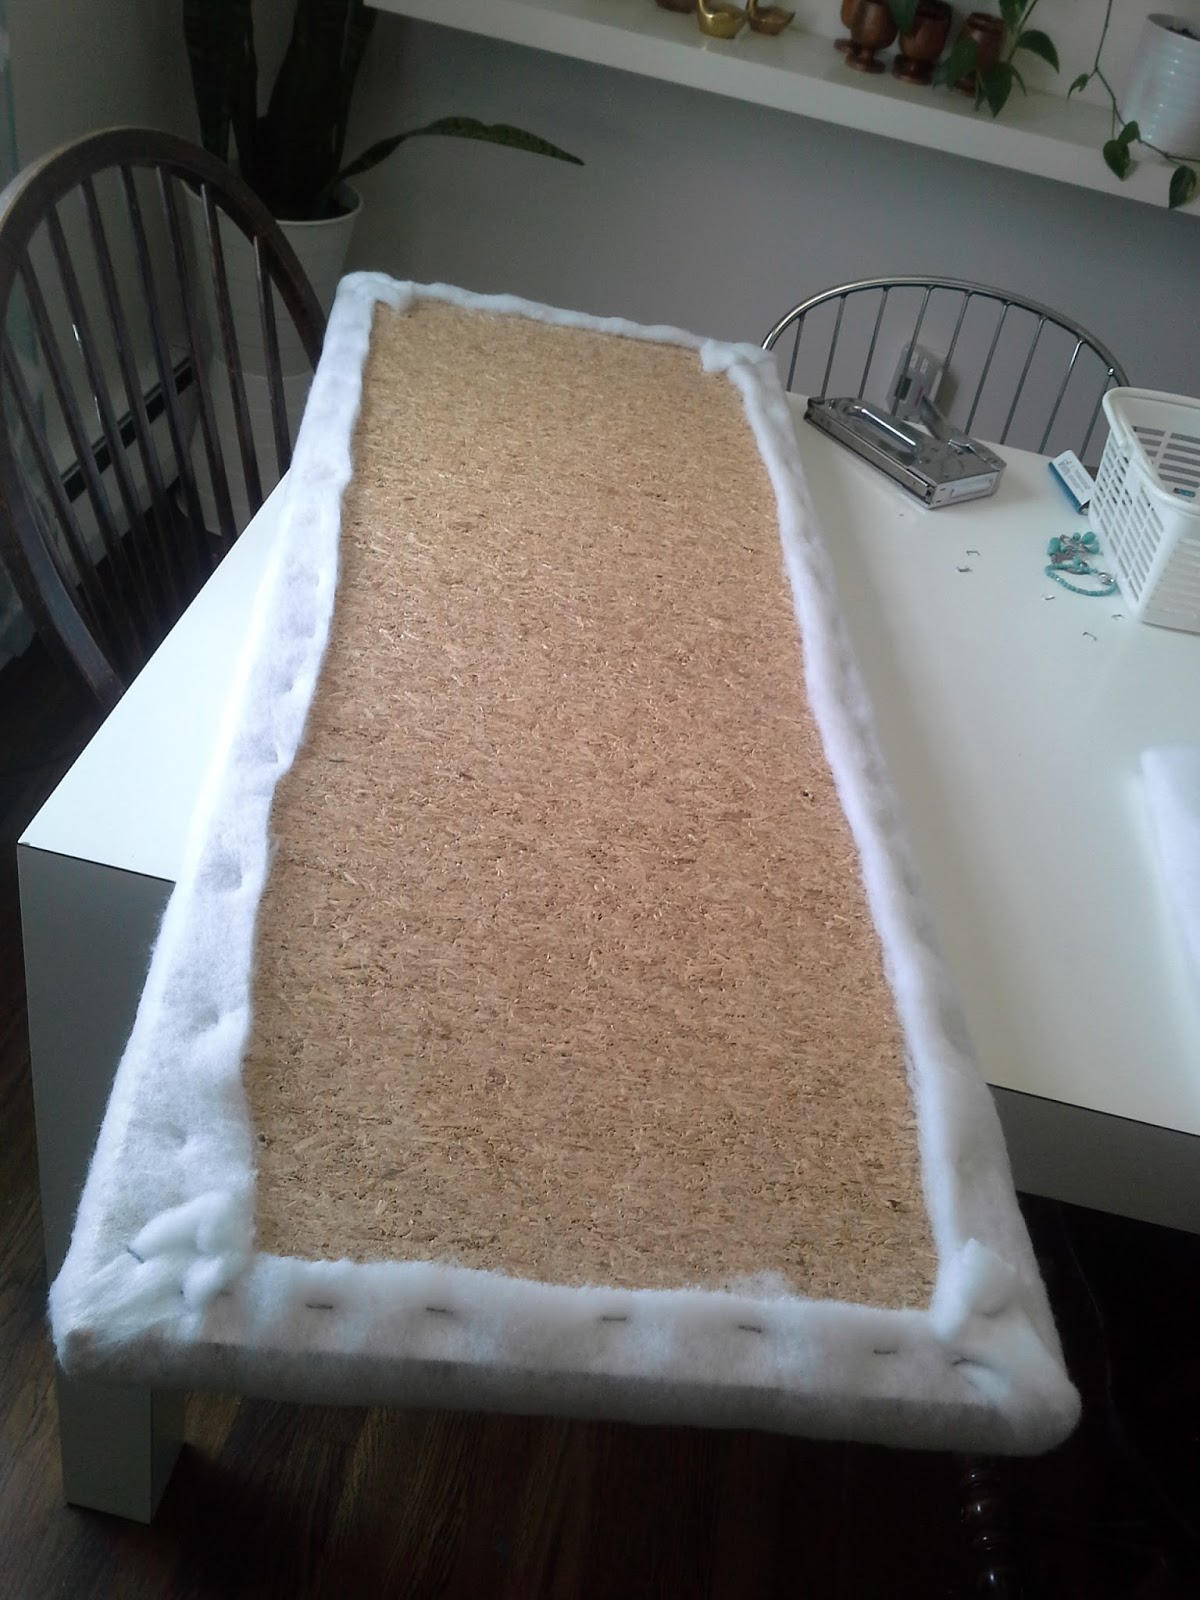
A few weeks ago I shared this mood board for the dining room but some things have already changed.  As you can see we ended up buying four chairs instead of two.  After looking at the mood board a few times something didn't feel right.  I realized I didn't like the way the rounded back of windsor chairs looked next to the flat back of the skogsta chairs.  I was planning on keeping them and painting them black but instead we are just going to build a bench and use the skogsta chairs around.   I like the look of mix matched chairs but this room is small and I think it would look too busy with so many different types of seating.  We are going to keep it simple and use two styles of seating instead of three.

Ikea Skogsta Chair Parsons Dining Table

Now, can we talk about the parsons dining table for a minute?  Just look at it!  It's such a simple, white piece but it pops.  I love it, it has such a durable surface and it's easy to clean.  I got it from Craigslist to the tune of $20, yep, you read that right, twenty dollar bills yo!  Score!!  My hubby is so happy that he doesn't have to build another dining table or spend a couple hundred on a new one either.  Double score!!!      

Ikea Skogsta Chair Parsons Dining Table

Let's talk about the things that are not in the dining room mood board
  • The curtains are a little bit faded from the light but it's not that noticeable, they are staying and so are the woven roman shades.
  • The floating shelves are my besties, I love dressing them up with my favorite finds and plants.
  • The new hutch stays in the corner right where it is, I will be refinishing it soon.
  •  The light fixture in the mood board isn't the same one but it was the closest thing I could find. We got a few years ago from Overstock on clearance and it's staying.  It will receive some tweaking down the line.
Ikea Skogsta Chair Parsons Dining Table

We are happy that we purchased the skogsta chairs and the parsons dining table.  Those are the most important pieces we needed to get closer to the finish line, even though we move slower than a turtle.  But you know what they say slow and steady wins the race.  I know it's not a race but when you have owned seven different dining tables (and I can't even count how many different chairs we've had) we are just dying to finish it up.  We use this room on a daily basis and it's where all the family gatherings happen so it's nice to put the furniture limbo to an end and stop playing musical chairs.  The dining room is shaping up people! 

Ikea Skogsta Chair Parsons Dining Table

Anyone else out there have a room in their house suffering from identity crisis??  Can't seem to find the right furniture pieces or the right color for the walls....???    


Beautiful Behr's Bermudan Blue Cedar Chest


Behr Bermudan Blue Cedar Chest

A couple of weeks ago I went to a new to me Goodwill store near by and scored some pretty awesome pieces.  One of them was this upholstered top cedar chest made by Lane, it was in pristine condition.


I went to Joann's Fabric store with a picture in my mind of what I wanted but when I saw this fabric my whole vision flew out the window and out I went with this fabric.  I loved the big, bold print and the colors where beautiful.  I knew I wanted a color that would pick up from the blues in the fabric.  I had the perfect color Behr's Bermudan Blue.  It's the same color we have on our front door.

Behr Bermudan Blue Cedar Chest


I removed all twelve-thousand staples (OK, so I exaggerated in this number but that's how tedious removing staples from upholstered pieces is).  The foam underneath was in excellent condition, no stains, yey!  I did however feel like it could use a little batting  so I went back to Joann's and picked up a yard.  The batting gave it a lot more of a plush feeling, and softened up the edges from the wood underneath the foam.  I centered the fabric, cut it and stapled it on, it looked gorgeous.


Behr Bermudan Blue Cedar Chest

The chest itself was in great condition, so all I had to do was remove the hardware and wipe the chest down with TSP.  I made my own mix of chalk paint and got straight to work.  The chest took three coats of paint to get it nice and uniform.  I let it cure and then applied two coats of gloss poly sanding between coats.  The hardware was very chunky so I really liked it, all I had to do was give it a good scrub with Bar Keepers Friends and it was nice and new again.  I love how the golden, brass color of the hardware pop against the blue.

Behr Bermudan Blue Cedar ChestBehr Bermudan Blue Cedar Chest


Once the paint was cured, I reattached everything back on the chest, and stepped back and gazed at how beautiful it turned out.  I'm so proud of myself for this piece.  The cedar chest itself is amazing, I love the bold color choice I made and the bold print on the fabric.   I loved using this beautiful Behr's Bermudan blue on this cedar chest. I think this piece is going to look amazing in someones home, either at the foot of their bed or by an entryway, where ever it ends up it is sure going to be a statement piece.


That's the story of how this boring beige piece was turned into this  Beautiful Berh's Bermudan Blue cedar chest... The End...

Linking up to


Campaign Headboard Painted With Americana Decor Chalky Finish


Campaign Headboard Painted With Americana Decor Chalky Finish paint Carbon

Campaign Headboard Painted With Americana Decor Chalky    Finish paint Carbon

I got this campaign headboard a couple months ago with a bunch of other campaign pieces.  For a while now I have been curious about Americana Decor chalky finish paint so I decided this was a good little piece to try it out.  By the way this is not a sponsored post nor did I receive this product for free.  I bought it at Home Depot because I see it there by the paint mixing booth all the time and it's cheaper than it's competitor brands.

Americana Decor Chalky Finish Carbon

The paint is supposed to adhere to just about any surface with out sanding or priming.  I removed the campaign hardware and cleaned the headboard really good and applied the first coat of paint with out doing any other type of prep work.  No sanding and no priming!  I bought the Americana Decor in Carbon which is a nice, rich, black.  The paint went on smooth and dried quickly however I waited until the next day to apply the second coat.  The paint had good coverage but after the second coat I could still see some of the wood color showing through in some spots.  I really liked the way that it looked so I did not opt for a third coat.

Campaign Headboard Painted With Americana Decor Chalky Finish paint Carbon

The paint looked very matte and I loved the way it looked but I needed a top coat.  The website says you do not need to apply a top coat but I feel more comfortable giving my furniture a little extra protection.  I waited until it dried and applied Minwax paste finishing wax because I already had it on hand and I did not feel like spending extra cash to buy the Americana wax.  The last step was to use some elbow grease to buff the piece and give it a little sheen.  I usually clean up the hardware but these were still nice and shinny, so I left them as is and put them back on the headboard and that's it, I was done.

Campaign Headboard Painted With Americana Decor Chalky Finish paint Carbon

Campaign Headboard Painted With Americana Decor Chalky Finish paint Carbon

I love how the campaign headboard painted with Americana Decor Chalky Finish in Carbon came out.  The paint itself isn't bad, I did light coats so there's no heavy brush marks.  It had good coverage and adhered well with out the need for extra prep work.  I only used about a quarter of the 8 oz jar I purchased and it cost me about $9.  Overall it was nice to work with it and I'm glad I have a lot left over to use in another project.

Linking up to


Refinished Roll Top Desk


Refinished roll top desk

This is my first ever refinished roll top desk!!!!!!  This was, gosh , I am not going to lie, a little bit of an intimidating project for me. When my customer arrived with the bookshelf I was going to paint for her, she also brought a little desk and a chair and asked if I could refinish them too.  Of course I said "sure!"  Inside I was thinking, this looks tricky with the roll top and the cubbies but I was still confident I can do it, I just wasn't sure what techniques I had to use.  She didn't need it right away so I had plenty of time to study the desk and research techniques that I could use on it.  

Refinished roll top desk
Before both pieces

Refinished roll top desk
Before, very and white film over stain
Refinished roll top desk
Before, gap on top of roll top cover, black burn mark
I decided I was going to sand the whole thing down and re-stain it.  First I had to take it apart into as many pieces as I could.  I removed the drawers, took four screws off from underneath the desk top to remove the top with the cubbies and slid off the roll top cover.  I took one of the drawers with me to Home Depot to match the original stain and bought some supplies that I needed to refinish it.

Refinished roll top desk

I went home, sanded the finish off everything and I worked on the chair.  The chair legs were loose and the seat was coming off so I fixed everything up, stained it and sealed it.  I decided to work on the desk later because we where working on the kitchen cabinets and my customer did not need this done until March, for her granddaughters birthday.

Refinished roll top desk, antique chair
Before, dull and scratched up

Before, lots of wood filler, unstained piece of wood
At the end of January I checked in with my customer and she surprised me by asking if I could finish it before Valentines Day instead.  Two weeks was more than enough time so I replied yes.  I told her once I finished the kitchen cabinets that week I would get it done for her.  Usually I would put the customers furniture before my own, duh!  But I was in a time crunch for the kitchen to get done because I was planning a surprise birthday party for my mom and my kitchen and dining room were in complete disorder.  The stupid kitchen cabinets took way more time than we bargained for.  I was still sealing them and putting on hardware the morning of the surprise party.

Mid way through kitchen cabinet makeover read more about it here and here

Anyhow after that was over, I got right to work on the desk, another sanding, cleaning and staining.  Something was bothering me though, the desk had a huge burn mark that I tried sanding and it wouldn't go away.  So I tried scrapping it with an exacto knife and it was a very deep burn so I had no choice but to fill it with wood filler.  I don't like wood filler too much because the stain never matches and this was a huge hole to fill.  I continued to add more and more stain to it but it kept coming out much lighter no mater how much stain I used.  I tried matching the stain color with acrylic paint but it looked bad so I wiped it off and tried a darker stain color and this finally worked!  You can still see the mark where the burn was but it's much more blended now and I am very happy with the results.

Black burn mark before sanding
After stained and blended
I asked my customer if I could change the existing wooden knobs for vintage glass ones and decoupage the drawers with pretty paper and she loved the idea.  I asked her what was her granddaughter's favorite color so that I could get the scrapbook paper in that color, she replied "pink and purple (my daughters favorite colors :-)."  I bought the knobs at Home Depot and went to Michaels for the scrap book paper.  I wanted the paper to have little flowers to stick with the vintage feel of the desk and the hardware.  I found these pretty options, I only ended up using three of them.  I decoupaged the drawers and did the same to the backs of the cubbies because I'm nice like that!

Refinished roll top desk, scrap book paper, vintage glass knobs

Refinished roll top desk

Finally it was time to clear coat it.  I used multiple layers for extra protection, after all it is a kids desk!  I waited a day before I put it all back together.  After I screwed in the top I noticed the gap on the roll top.

Refinished roll top desk

Refinished roll top desk
Huge gap!!!

I tried fixing it by screwing a pair of short, round head screw in the groves where the roll top sits.  I predrilled the holes first so that the wood wouldn't split.  I put everything back together and it worked, now there's a smaller gap on the bottom instead of the top which is a lot less noticeable.


Refinished roll top desk

Refinished roll top desk


But... of course, there's always a but, the roll top wouldn't slide smoothly.  This could drive the little girl nuts, when she tries to open and close it.  So I disassembled everything once again, and I used a birthday cake candle (leftover from my mom's surprise birthday party) and glided it up and down the groves and on the roll top itself.  Then I screwed everything back together again and it glides much smoother now, so hopefully the little girl wont get frustrated when opening and closing her desk.

Refinished roll top desk

Refinished roll top desk

That's it!  The desk is done and I'm in love with it!  I'm so glad my customer liked the idea of adding the paper and the glass knobs, these little details make all the difference.  I love peeking inside the drawers and cubbies to see the pretty paper.  I wish I was 4 years old and my customer was my grandmother so that this little desk could be my Valentines Day gift!  

Before

Refinished roll top desk, vintage glass knobs
After

Refinished roll top desk

This was a long post but I just wanted to share how I refinished this roll top desk.  I skipped a few things, like, how I bought an antique refinishing product, that I then realized had a bunch of Warnings and Danger signs.  I opted out and went with my good ole sanding, staining routine.  I didn't take a lot of behind the scenes pictures either (bad blogger, I know) I was too focused.  I did a lot of research and thinking, I took it one step at a time, and I did a few trials and errors and improvising where I needed.  This ended up being a very thoughtful process and a very fun project. 

I know I owe you guys some kitchen cabinet makeover pictures but that will be on the next post!  So stay tuned for that!!  

Linking up

Charish Your Coffee Table


Although the title of this post "Charish Your Coffee Table" makes it seem like this is a sponsored post I promise you, that it is not sponsored, all opinions are my own.  Last week I recieved an email from the Community Manager at Charish asking if I was interested in writing a post for my blog about how I would style a coffee table using one of their coffee tables as inspiration.  Since my blog is centered mostly around home decorating and furniture I thought it would be a great post to write so, why not?  For those of you who are not familiar with Charish they are an exclusive, curator approved, online marketplace for vintage furniture and home decor items.  Without further ado here is the coffee table that I curated...

Charish Your Coffee Table

They sent me a zipped file containing a few options of their coffee tables for me to chose from and all the coffee table essentials were left up to me to chose from any home decor site of my liking.  This lovely faux bamboo, brass and glass coffee table quickly grabbed my attention.  I browsed through their website for inspiration and I loved so many of their items.  So to make this even more fun for myself, I decided that I was only going to use items that I liked from their site.  Keep in mind that I curated all these items for this coffee table based on looks and functions not on price.  They are only for inspiration on what I would chose if money was not a matter.
  1. I am a fool for anything bamboo and brass and this coffee table is the best of both worlds.  The skinny but still sexy legs keeps it from looking heavy.  The glass top reflects light, and it is see through which makes it ideal for smaller spaces.  
  2. The pair of rustic wood and glass hurricanes are a nice contrast to the coffee tables metal, slim profile.  They are great for mood lighting in the evening or to infuse your home with relaxing scents. 
  3. The brass turtle box is a nice accent piece for the coffee table and it also offers storage.  I have a similar one on my coffee table, from Nate Berkus's line for Target.
  4. Every coffee table needs some type of greenery, flowers, plants, leafy stems in a bud vase, there's lots of options.  I have some pretty succulents on mine, so I chose one in a terracotta pot for this coffee table.
  5. Because succulents are prettier in pairs I also chose to add a second one in a beautiful marble vessel.
  6. A stack of beautiful interior design coffee table books are an essential on mines.  There's a reason why they call them coffee table books.       
  7. A beautiful, woven, textured basket on the bottom is a perfect place to store your remotes while keeping them nearby for easy access.  
Personally I like to keep it simple and functional but still eye pleasing!  I do not like to have too many items on my coffee table.  Too many items can make a space look visually cluttered even when they are not messy.  I like to leave enough space on my coffee table to place a drink or an appetizer dish.  Some people could probably do with a lot less and others love to fill every inch of table top and that is fine.  Your coffee table should reflect your style and how you decorate it, is personal to you, so have fun with it and do what speaks to you.

*I would love to hear what are your coffee table essentials?  Do you like fresh flowers on yours or is a freshly made pizza more your style?


Black and Gold MCM Coffee Table


Mid Century Modern Octagonal Coffee Table Gloss Black and Brass Gold

I am usually drawn to pieces that are different and unique so when I came across this MCM coffee table it was no surprise that I had to buy it to give it a makeover.  I love the modern design of the legs and the octagonal shape of the top, it's just not something that you see everyday.

Mid Century Modern Octagonal Coffee Table Gloss Black and Brass Gold

Mid Century Modern Octagonal Coffee Table Gloss Black and Brass Gold


For this makeover I wanted to do something different that would fit this table's modern design.  I decided to go with a gloss black on top and gold base.  My husband was not a fan of the color choices, he said the colors reminded him of the 90's metal bases with glass top tables, so many people owned back then. I didn't listen, I knew it would turn out amazing!

Shhh... my mom had them too!

Like always I did all the prep work first cleaning, sanding, priming, yada, yada, yada....  Then I sprayed the bottom with several thin coats of my favorite Rustoleum's metallic spray paint in gold.  After it was dry I painted the top in black, it took about five thin coats to get complete coverage.  Lastly, I sealed it with five thin coats of gloss polycrilic sanding between coats for a smooth finish.

Mid Century Modern Octagonal Coffee Table Gloss Black and Brass Gold

It turned out amazing! The gloss black and the metallic gold look are a perfect match for this table.  I don't think it's either too feminine or too masculine.  I feel like it would suit anywhere from a glamorous lady's home to a professional, bachelor's apartment.  I can imagine this table in a very sleek condo, full of modern, clean lined furniture, with a nice tray on top and some decorative coffee table books.  Of course, I just had to take it for a spin in my own living room to see how it looks.

Mid Century Modern Octagonal Coffee Table Gloss Black and Brass Gold

 Guess what?  The hubby doesn't hate it or think it looks like a flash back from the 90's anymore.  What do you think, is the black and gold outdated or do you think it works in this era? 

Linking 

Related Posts Plugin for WordPress, Blogger...